Sash Tilting & Removal Instructions
These are the basic instructions for tilting and removing the sash from our Hung windows that feature this function. The instructions are intended to be generic and provide the basic tilting and removal steps for any of our Hung windows. The images feature our Architectural Double Hung window. Other Double Hung and Single Hung windows use this same procedure. Some details may vary based on the specific product.
1. Unlock the sash.
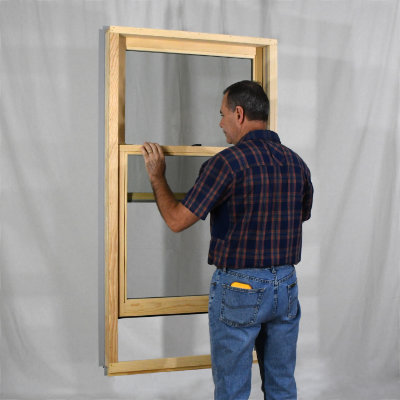
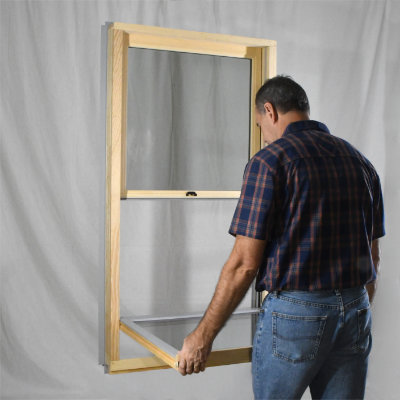
2. Raise the bottom sash approximately 6 inches.
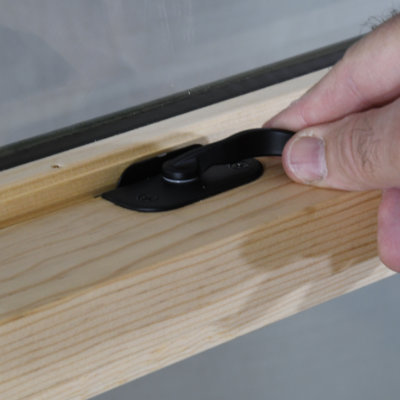
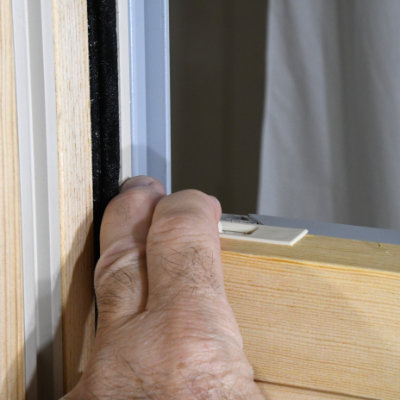
3. Grip the Sash Tilt Latches at both sides of the Checkrail and slide them towards the center of the sash to disengage the latches from the side Jamb Tracks.
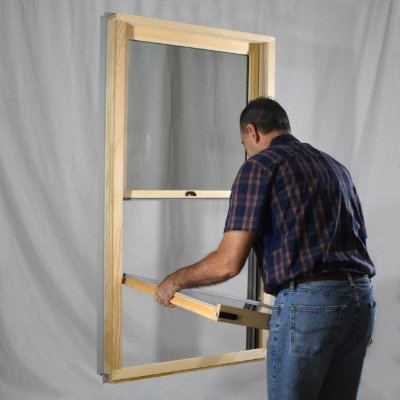
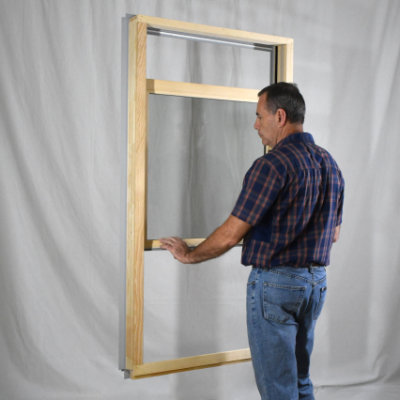
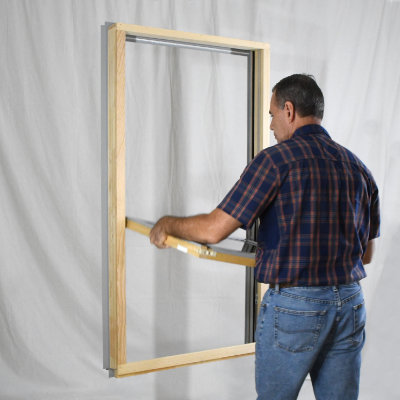
4. With the latches disengaged, pull the top of the sash toward you to tilt it inward.
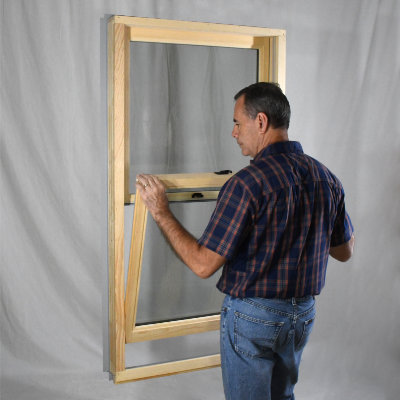
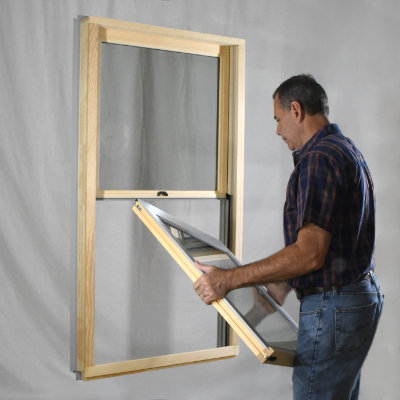
5. Tilt the sash until it is approximately 90° perpendicular.
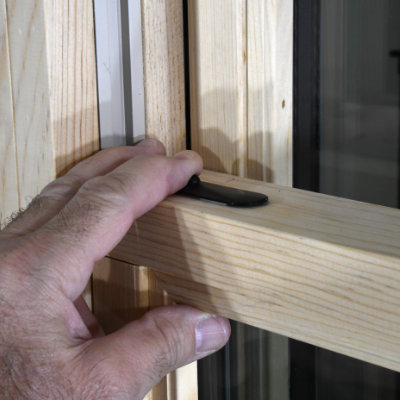
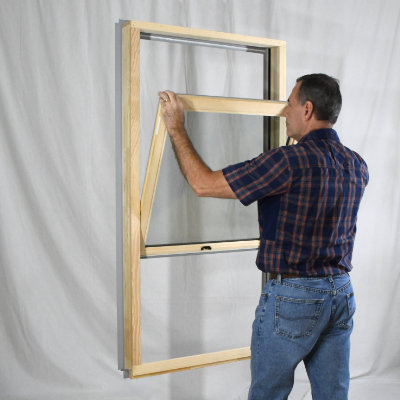
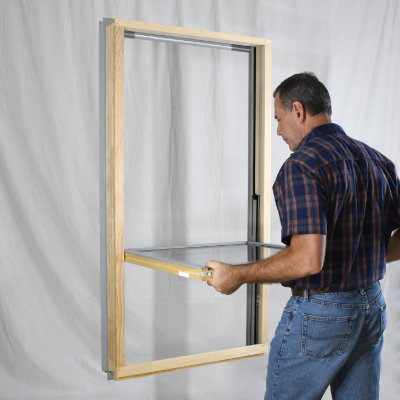
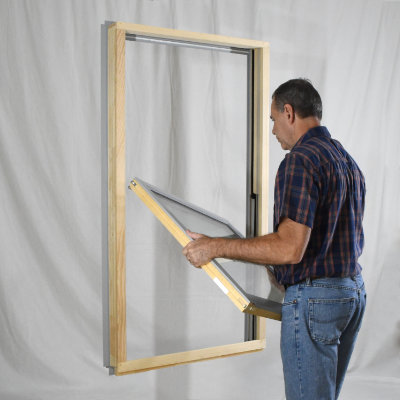
6. Lift one edge of the sash until the bottom of the sash is clear from the Sash Pivot Shoe in the Side Jamb Track.
7. Lift the other side of the sash until it is clear from the other Sash Pivot Shoe.
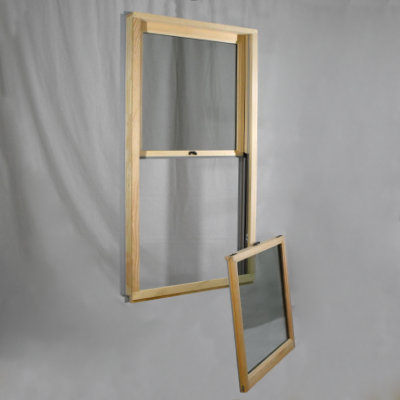
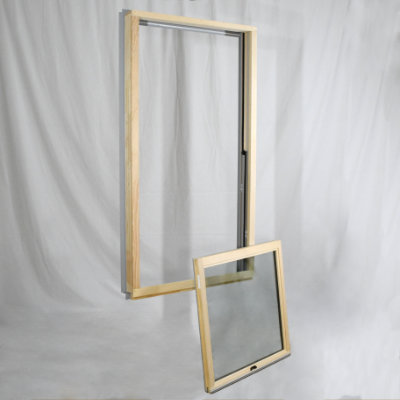
8. The bottom sash is now removed from the window.
9. Lower the top sash by approximately 6 inches.
10. Most Double Hung top sashes will have Sash Tilt Latches on the top rail. Grip the latches at both sides of the top rail and slide them towards the center of the sash to disengage the latches from the side Jamb Tracks.
11. With the latches disengaged, pull the top of the sash toward you to tilt it inward.
12. Tilt the sash until it is approximately 90° perpendicular.
13. Lift one edge of the sash until the bottom of the sash is clear from the Sash Pivot Shoe in the Side Jamb Track.
14. Lift the other side of the sash until it is clear from the other Sash Pivot Shoe.
15. The top sash is now removed from the window.
Reinstall Sash
Reinstall the sash by performing these steps in reverse.
Be careful to properly engage the Sash Pivot Tabs with the Sash Pivot Shoes and make sure they are fully seated.
Also, be sure to keep the bottom of the sash level across the opening before tilting the sash upward to the closed position.